
Food is a responsive theme designed to look sharp across all devices, whether it be smartphones, tablets or PC devices. It is also optimized for SEO and fast browsing.
This theme is compatible with all the settings you can find on the admin page, as well as Smart Themes. You can freely edit the HTML, CSS and JS of this theme using the code editor.
Cafe24's responsive themes use WebP, an image format that provides superior lossless compression for images, to minimize the image loading speed.
Internet Explorer, however, does not support WebP images, so you will also need to use .jpg, .png, .gif or other supported image formats.
Read the guide below for more information on how to edit this theme and change images.
This guide was created based on the admin website’s Advanced Mode and Smart themes.
You can read the Admin Guidelines for more details on the editor.
Get Food from the Cafe24 Store![]()
Content guide
1. Adding products
1) Product images
From your Cafe24 admin, you can change the size of your images in Products > Add product > Advanced settings > Product images.
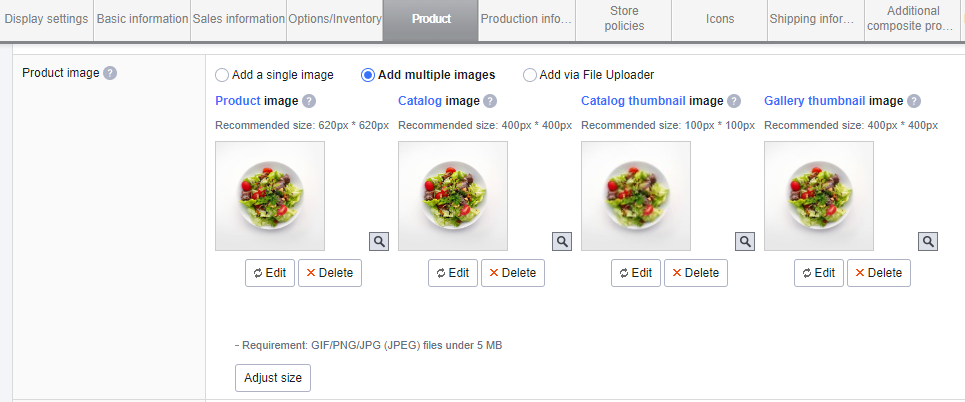
Select [Add multiple images] to add a different image for the product image and the list thumbnail image. Before adding any images, click [Adjust size] to change the size of your images.
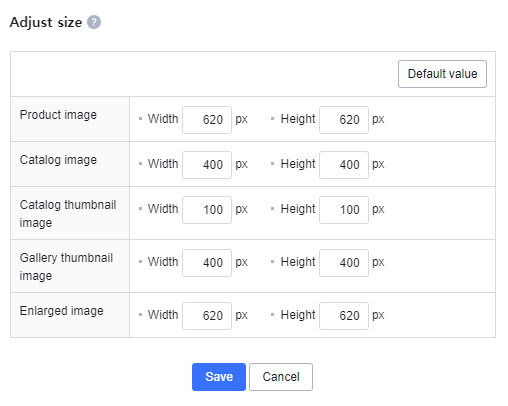
Recommended image sizes
| Product image/Enlarged image | List thumbnail image | Additional image |
| 620 x 620 px | 400 x 400 px | 400 x 400 px |
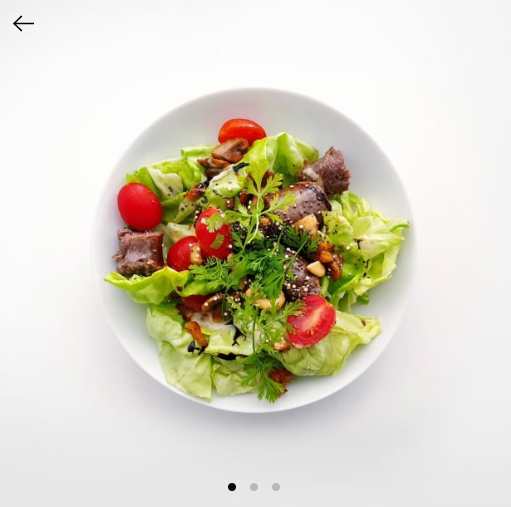
2) Additional product images
From your Cafe24 admin, you can register additional product images for your product details page in Products > Add product > Advanced settings > Additional image.
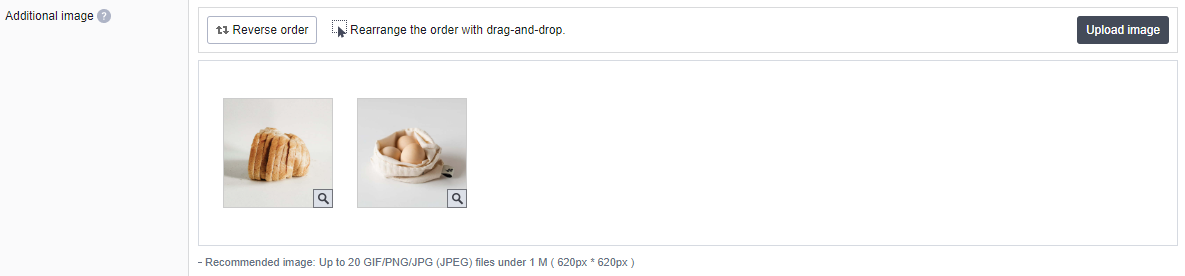
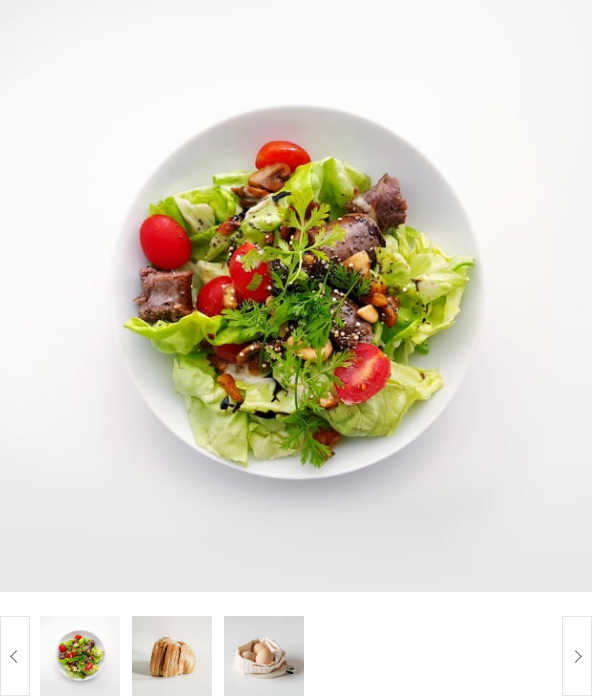
These images can be found in the product image section of the product details page, as thumbnails underneath the main product image on your store’s PC version or as an image slider on its mobile version.
| PC | Smartphone |
 |
 |
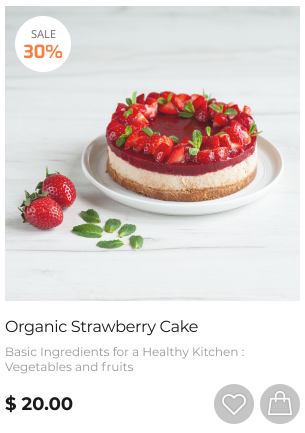
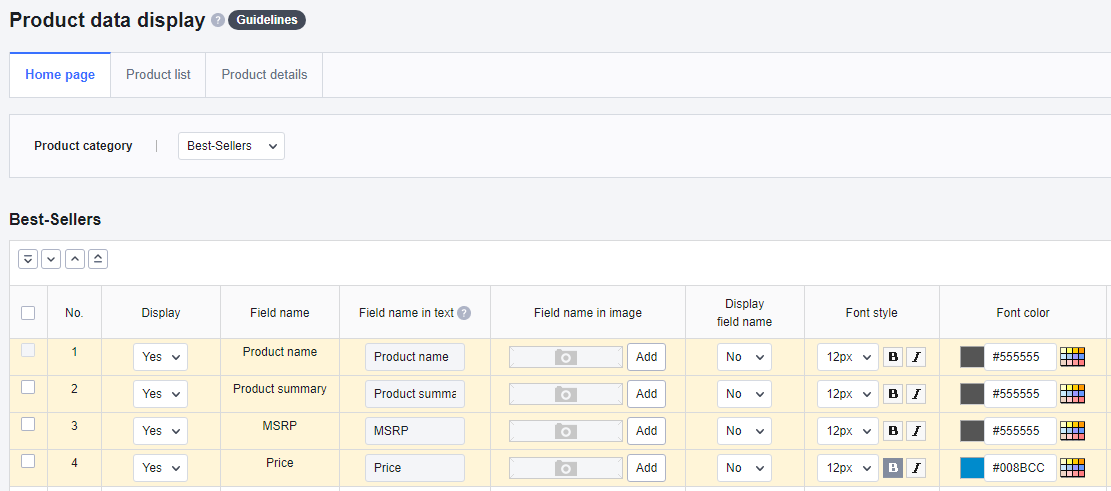
3) Product data display
From your Cafe24 admin, you can change the style of product prices and product summaries in Product > Products > Product data display.
You can configure these settings separately for every type of page using the tabs: home page, product list and product details. You can also adjust the settings differently for each product category in the home page and product list tabs.
Note
You can only change the style of product names for the home page and product lists.
2. Layout
1) Logo
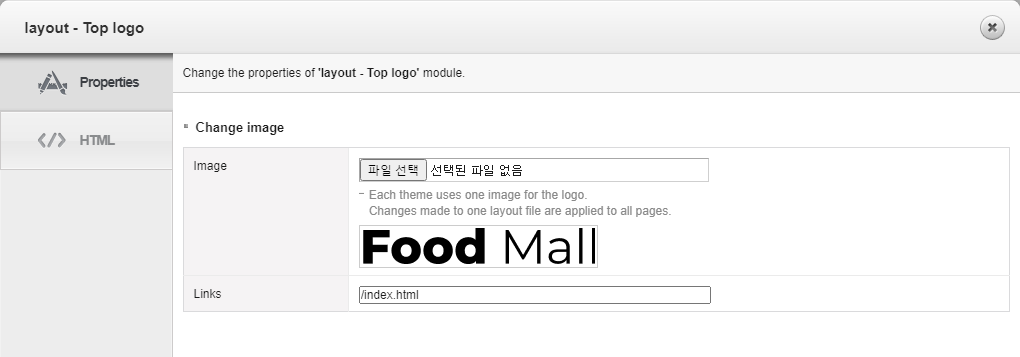
Add your store logo in Smart Themes Editor > Logo section > Edit > Properties.
To make sure your logo is clearly visible on mobile devices, add an image that is twice as big as the size you actually see.
(For example, if the image size on screen is 104 x 27 px, you must upload a 208 x 54 px image. *Recommended image: 208 x 54 px)
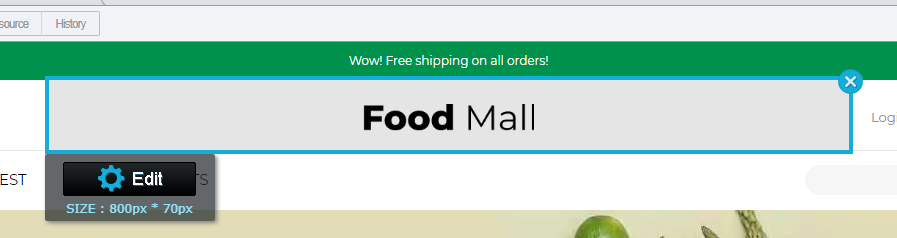
2) Top banner (text)
In Smart Themes Editor, hover your mouse over the banner at the top of the page and click [Edit].
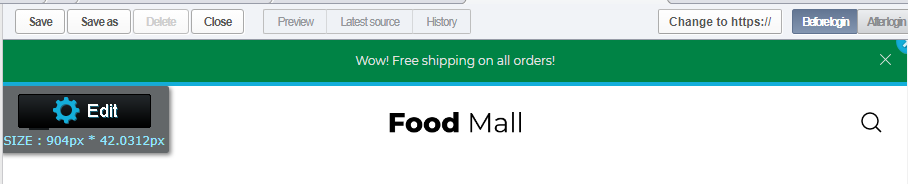
Edit the text between the <div class="desc"> and </div> tags.
<div id="topBanner" role="banner" module="custom_moduleedit">
  <div class="desc">Change Text</div>
  <button type="button" class="btnClose"><i aria-hidden="true" class="icon icoClose white"></i>Close</button>
</div>
If you wish to remove the banner, simply click the "X" button in the top-right corner of the selected section.
3) Product categories
From your Cafe24 admin, you can configure product categories in Products > Categories > Product categories.
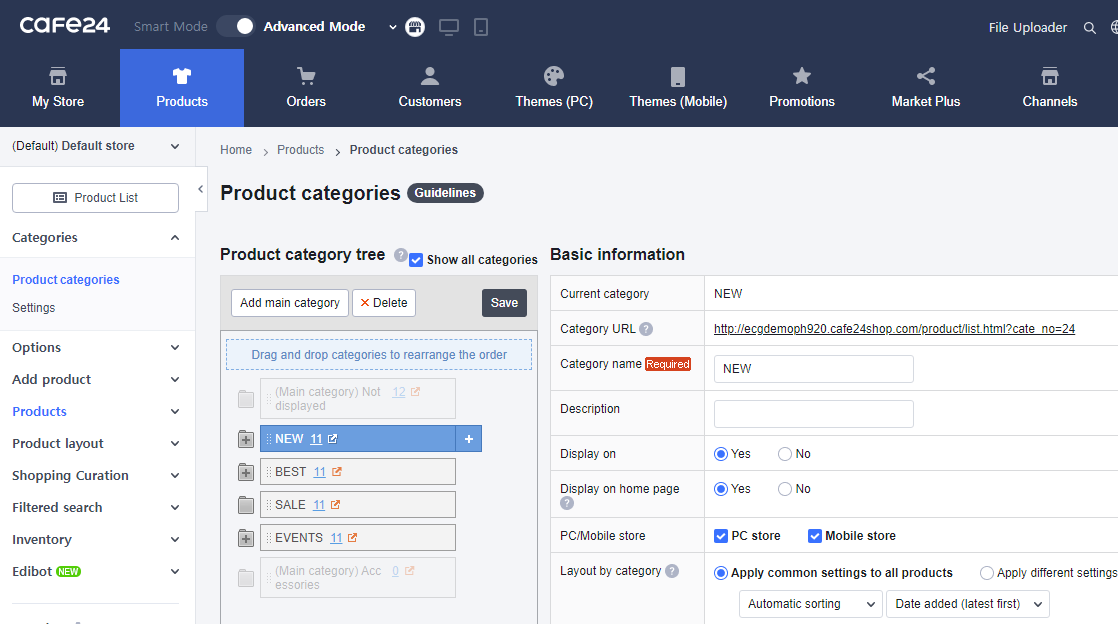
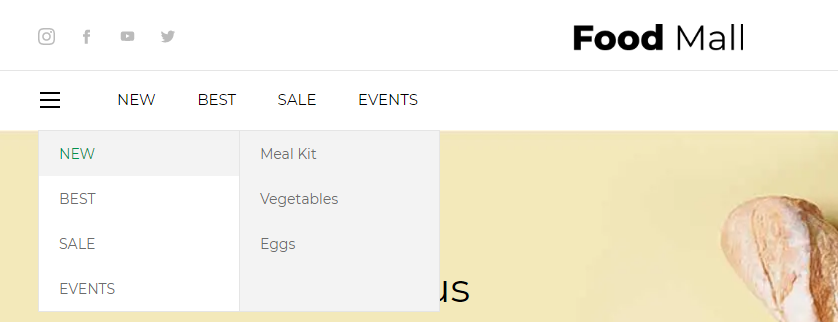
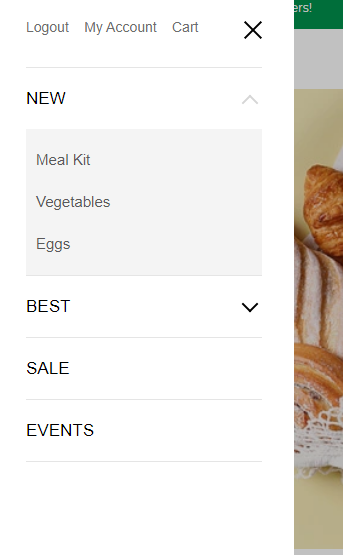
Your product categories will appear in your theme's header and sidebar.
- PC
- Smartphone + Tablet
4) Footer information
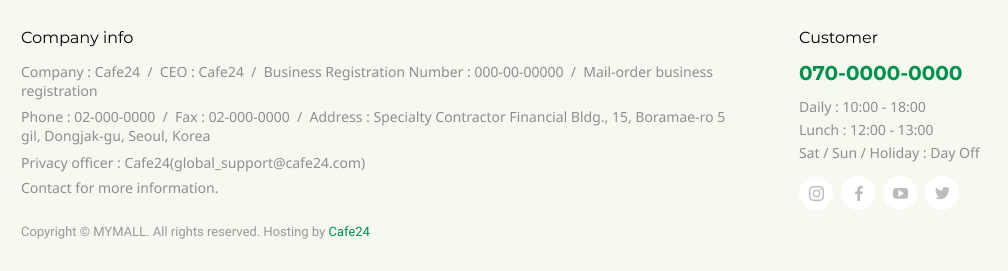
From your Cafe24 admin, you can configure your store information in My Store > General > Store profile.
These details will appear in your theme's footer.
5) Social media links
You can link your social media accounts in the header or footer section of your website.
Open "/layout/basic/state_login.html" and "/layout/basic/footer.html” in the editor.
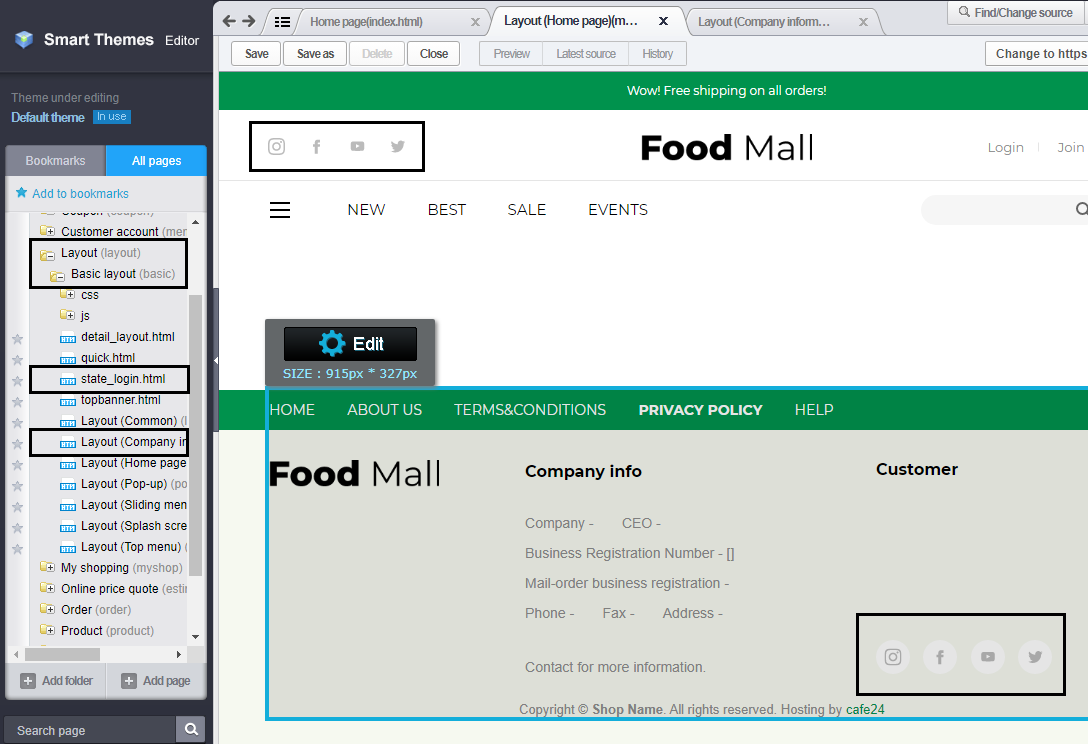
Find the source codes below in the "/layout/basic/state_login.html” file and replace the content in the href="” attribute of the <a> tag with a link to your account.
<div class=" topLogo sns RW">
  <a href="#none"><!--@import(/svg/icon-instagram.html)-->instagram</a>
  <a href="#none"><!--@import(/svg/icon-facebook.html)-->facebook</a>
  <a href="#none"><!--@import(/svg/icon-youtube.html)-->youtube</a>
  <a href="#none"><!--@import(/svg/icon-twitter.html)-->twitter</a>
</div>
Find the source codes below in the "/layout/basic/footer.html” file and replace the content in the href="” attribute of the <a> tag with a link to your account.
<div class="sns">
  <a href="Link"><!--@import(/svg/icon-instagram.html)-->instagram</a>
  <a href="Link"><!--@import(/svg/icon-facebook.html)-->facebook</a>
  <a href="Link"><!--@import(/svg/icon-youtube.html)-->youtube</a>
  <a href="Link"><!--@import(/svg/icon-twitter.html)-->twitter</a>
</div>
3. Main contents
1) Top banner slider
This banner slider placed at the top of your landing page is your store's main visual element.
Changing the images
- Place the URL link to which you want to redirect users in the href="" attribute of the <a> tag under <div class="here">.
- Edit the text between <h2 class="text"> and </h2>.
- Prepare a WebP and JPG/PNG/GIF image each for PC, tablets and smartphones.
- Add the WebP image to the source srcset="” attribute.
- Add the JPG/PNG/GIF image to the img src="” attribute.
<div class="swiper-slide">
  <div class="item">
    <div class="here">
      <h2 class="text">Banner text</h2>
      <a href="Link" class="button">shop now</a>
    </div>
    <!-- PC image -->
    <picture class="RW">
      <source srcset="Banner image_PC.webp" type="image/webp">
      <img src="Banner image_PC.jpg" width="100%" height="100%" alt="main banner">
    </picture>
    <!-- tablet image -->
    <picture class="RTB">
      <source srcset="Banner image_Tablet.webp" type="image/webp" />
      <img src="Banner image_Tablet.jpg" width="100%" height="100%" alt="main banner">
    </picture>
    <!-- mobile image -->
    <picture class="RMB">
      <source srcset="Banner image_Smartphone.webp" type="image/webp" />
      <img src="Banner image_Smartphone.jpg" width="100%" height="100%" alt="main banner">
    </picture>
  </div>
</div>
Recommended image sizes
| PC | Tablet | Smartphone |
| 1820 x 620 px | 720 x 777 px | 328 x 390 px |
This banner slider has two images by default. If you want to add more banners, simply copy the <div class="swiper-slide"> [...] </div> code shown above.
Example of the slider's structure
<div class="swiper-slide"> [...] </div>
<div class="swiper-slide"> [...] </div>
<div class="swiper-slide"> [...] </div>
2) Product layout slider (three rows)
You can use this section at the bottom of the page to display the products you sell in a 3-row layout. You can display 3 products at a time on PC and tablet screens and 1 product at a time on smartphone screens. (Swipe available)
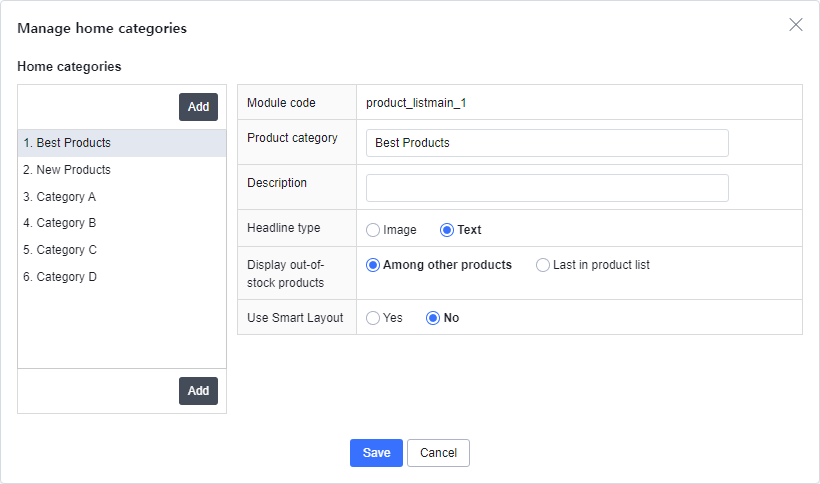
- The module code "product_listmain_1" is used for this section.
You can find it in Products > Product layout > Home page category layout > Manage home categories on your Cafe24 admin. - The text entered for [Product category] is displayed as the title of this section.
- Products you add to that home category will appear in this section.
3) Product layout (4 columns)
You can use this section at the bottom of the page to display the products you sell in a 4-row layout.
- The module code "product_listmain_2" is used for this section.
You can find it in Products > Product layout > Home page category layout > Manage home categories on your Cafe24 admin. - The text entered for [Product category] is displayed as the title of this section.
- Products you add to that home category will appear in this section.
4) Full grid image banner
This image banner fills the whole width of the page.
- Place the URL link to which you want to redirect users in the href="" under the <a> tag.
- Prepare images of equal dimensions in both WebP and JPG format.
- Since smartphones and tablets support WebP image formats, prepare a JPG/PNG/GIF image for PC screens.
- Add the WebP image to the source srcset="” attribute.
- Add the JPG/PNG/GIF image to the img src="” attribute.
<section class="middleBanner" module="custom_moduleedit_2">
  <a href="Link">
    <picture>
      <source srcset="BannerImage_Smartphone.webp" media="(max-width: 767px)"/>
      <source srcset="BannerImage_Tablet.webp" media="(max-width: 1024px)"/>
      <img src="BannerImage_PC.jpg" alt="banner" loading="lazy" width="100%" height="100%"/></picture>
  </a>
</section>
Recommended image sizes
| PC | Tablet | Smartphone |
| 1920 x 280 px | 768 x 280 px | 360 x 280 px |
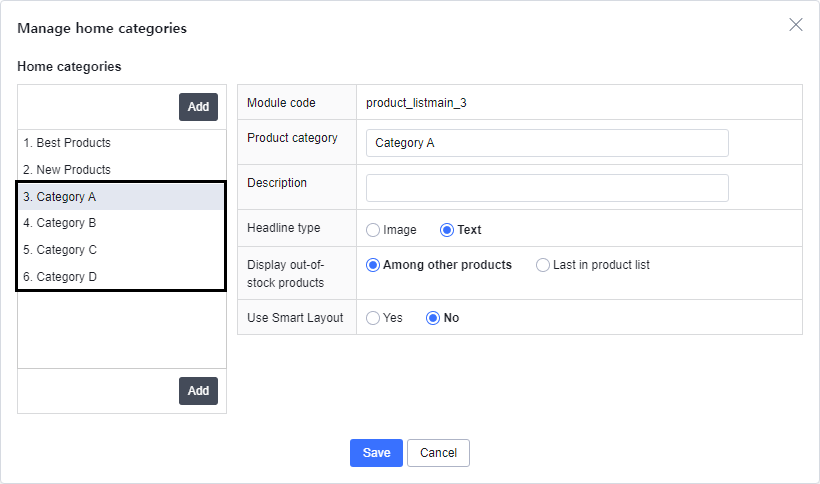
5) Sale items tab layout
The sale items section is a tab layout made out of four home category modules.
- The module codes "product_listmain_3, 4, 5, 6" are used for this section.
You can find them in Products > Product layout > Home page category layout > Manage home categories on your Cafe24 admin. - If you do not have any home categories for product_listmain_5, 6, please add them in [Manage home categories].
- The text entered for [Product category] will be used as the tab title.
- Up to 10 products are displayed under each tab.
You can change the section's title (Sale item) by editing the text between the <h2> and </h2> tags.
<div class="mainTitle">
  <h2>Sale Item</h2>
</div>
Each home category name is used as text for the tab buttons.

Note
You can check the section's source code range and location by selecting it and checking the marked area in the HTML viewer of Smart Themes Editor.
You can select the entire source code section for the sale item section and delete or move it.
<!-- tabProductItem --> Section <!-- //tabProductItem-->
6) Bottom image banner
This image banner is located at the bottom of the page.
- Place the URL link to which you want to redirect users in the href="" under the <a> tag.
- Prepare images of equal dimensions in both WebP and JPG/PNG/GIF formats.
- Since smartphones and tablets support WebP image formats, prepare a JPG/PNG/GIF image for PC screens.
- Add the WebP image to the source srcset="” attribute.
- Add the JPG/PNG/GIF image to the img src="” attribute.
<section class="endBanner" module="custom_moduleedit_3">
  <a href="Link">
    <picture>
      <source srcset="BannerImage_Smartphone.webp" media="(max-width: 767px)"/>
      <source srcset="BannerImage_Tablet.webp" media="(max-width: 1024px)"/>
      <img src="BannerImage_PC.jpg" alt="banner" loading="lazy" width="100%" height="100%"/></picture>
  </a>
</section>
Recommended image sizes
| PC | Tablet | Smartphone |
| 1240 x 240 px | 720 x 240 px | 328 x 280 px |
4. Customizing icons
You can change the icons that appear on your product pages (Add to cart, Add to wishlist, etc.) through the Cafe24 admin.
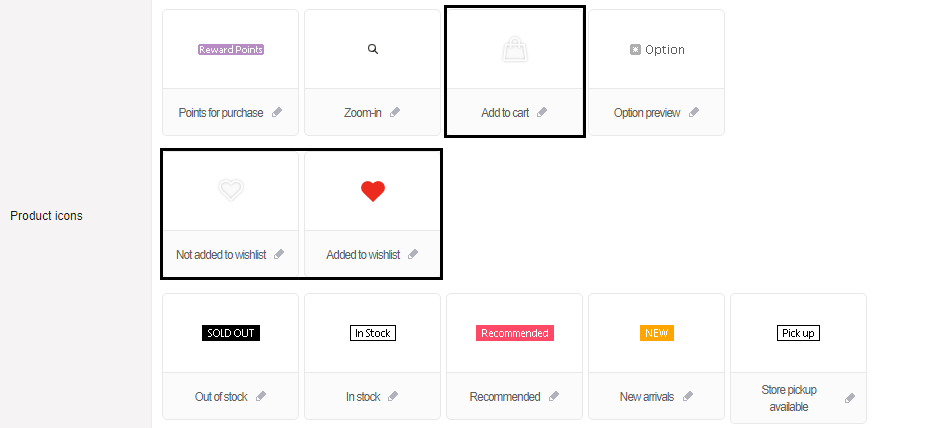
From the Cafe24 admin, go to Themes (PC) > Features > Icons for your store's PC version, and Themes (Mobile) > Features > Icons for your store's mobile version.
You can upload new icon images that you created to fit the size recommendations or download the current images to edit them.
| PC | Smartphone (PC size x2) |
| 26 x 26 px | 52 x 52 px |
2. CSS editing
Media query configuration
Since IBase is a responsive theme, when you edit the style of either the smartphone, tablet or PC, you will also have to edit the style included in the corresponding media query syntax.
Media queries must be configured as follows.
(This example shows cases in which the font size needs to be adjusted depending on the device.)
Source code example
/*The source codes used accross all devices (smartphones, tablets and PC)
are put at the top. */
.banner { color:#000; }

/*The styles that need to be added separately for each device are added below. */
/* Smartphones */
@media all and (max-width:767px) {
.banner { font-size:14px; }
}

/* Tablets */
@media all and (max-width:1024px) {
.banner { font-size:16px; }
}

/* PC */
@media all and (min-width:1025px) {
.banner { font-size:20px; }
}
Responsive class
These are the classes used for showing/hiding elements depending on the device. They only have the display property.
| Smartphone | Tablet | Smartphone & Tablet | PC | |
| Global Class |
RMI (Responsive Mobile Inline) | RTI (Responsive Tablet Inline) | - | RWB (Responsive Web Block) |
| RMB (Responsive Mobile Block) | RTB (Responsive Tablet Block) | RTMB (Responsive Tablet Mobile Block) | RWI (Responsive Web Inline) | |
| RMIB (Responsive Mobile Inline-Block) | RTIB (Responsive Tablet Inline-Block) | RTMI (Responsive Tablet Mobile Inline-Block) | RWIB (Responsive Web Inline-Block) | |
| - | - | - | RW (display:none for smartphones/tablets) | |
| display |
Only for smartphones |
Only for tablets |
Only for smartphones/tablets display:none for PC |
Only for PC display:none for smartphones/tablets |
Usage example
You can use media queries to add a line-break to a text on smartphones only.
When the RMB class is added to the < br > tag, the < br > tag will become display:none on PC sizes, making the line-break disappear, and display:block on smartphone sizes, creating a line-break.
<p>This sentence will only have <br class="RMB">a line-break on smartphones.</p>
| Text as seen on a desktop | Text as seen on a smartphone |
| This sentence will only have a line-break on smartphones. | This sentence will only have a line-break on smartphones. |